Create Routes
Home > Create Routes
<span data-buffer="">Ways to Create Routes<span data-metadata="">
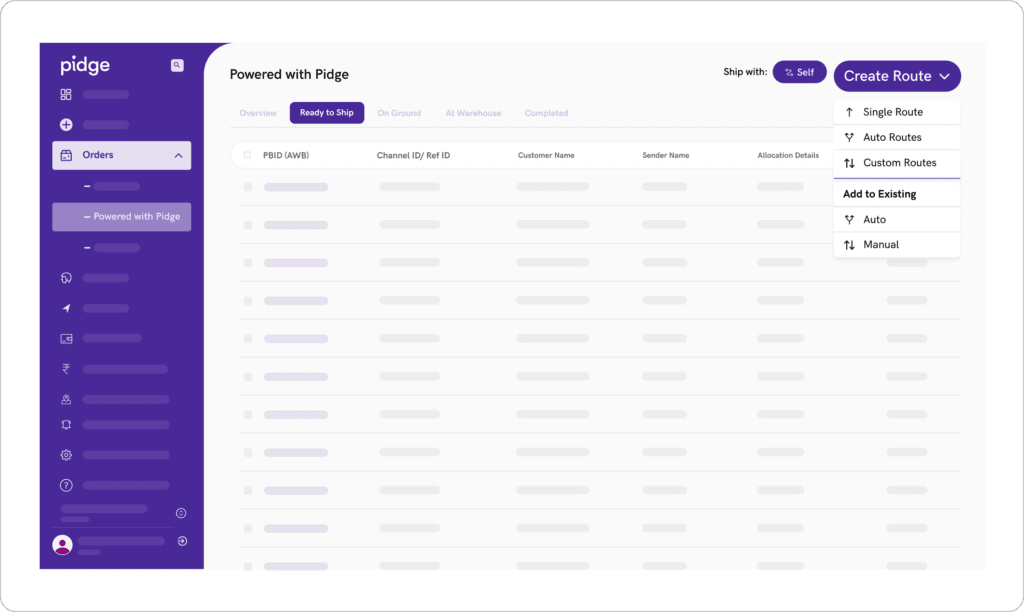
To create routes, move orders from ‘All Orders‘ pages by clicking on ‘Self Route’. Orders on ‘Powered with Pidge‘ are used to make your own routes.

<span data-metadata=""><span data-metadata=""><span data-buffer="">Different ways to Create Route
- Single Route: Create a single, best route for all selected orders with the same pick up location. Useful for businesses with one rider and multiple drops.
- Auto Route: Creates the most efficient routes even with multiple pickup and drop points. Distance, size, and time are all considered.
- Custom Route: Create routes as per your own business requirements. Criteria can be maximum number of routes, max number of delivery points in a route, and the max distance between two delivery points.
- Add to Existing – Manually: Manually add any unassigned orders to already existing routes. Unassigned orders appear on top of the page with active routes on the map. Drag and drop unassigned order IDs to the desired existing route. Routes are optimized instantly after points are added.
- Add to Existing – Auto: Use Pidge AI to automatically distribute points amongst existing routes. Define business requirements such as max points in a route, and distance between new and old points, and route thousands of new orders instantly.
- Unallocated Routes help you make changes in single routes or move points between routes before rider allocation. You can even handle bulk allocations from here.
- Active Routes show current routes allocated to riders. Use this page to reassign routes to other riders.