Powered with Pidge
‘Powered with Pidge’ means that you are processing your orders with your captive fleet and using the Pidge platform to manage & streamline the process.
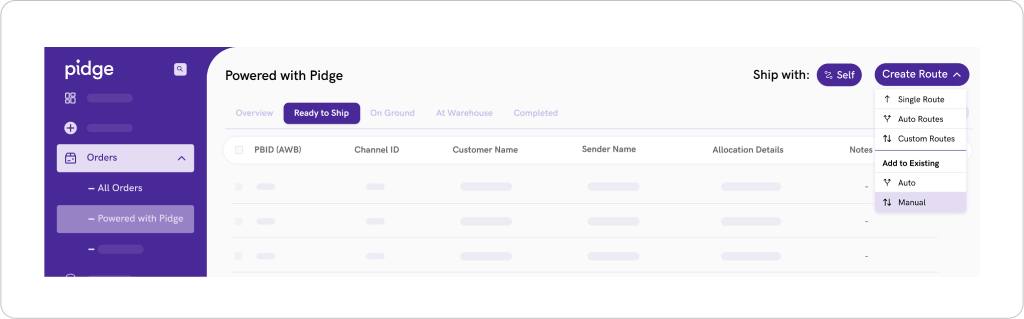
All orders selected from the ‘Pending‘ page for shipping with ‘Self Route‘ move from ‘All Orders – Pending Page‘ to ‘Powered With Pidge – Ready to Ship‘ page.
Allocation Details are the routes created when you process orders from ‘Ready to Ship‘ by choosing either ‘self‘ or ‘create route‘ option for delivery. Click on the allocation detail to view the route details on the Routing page.
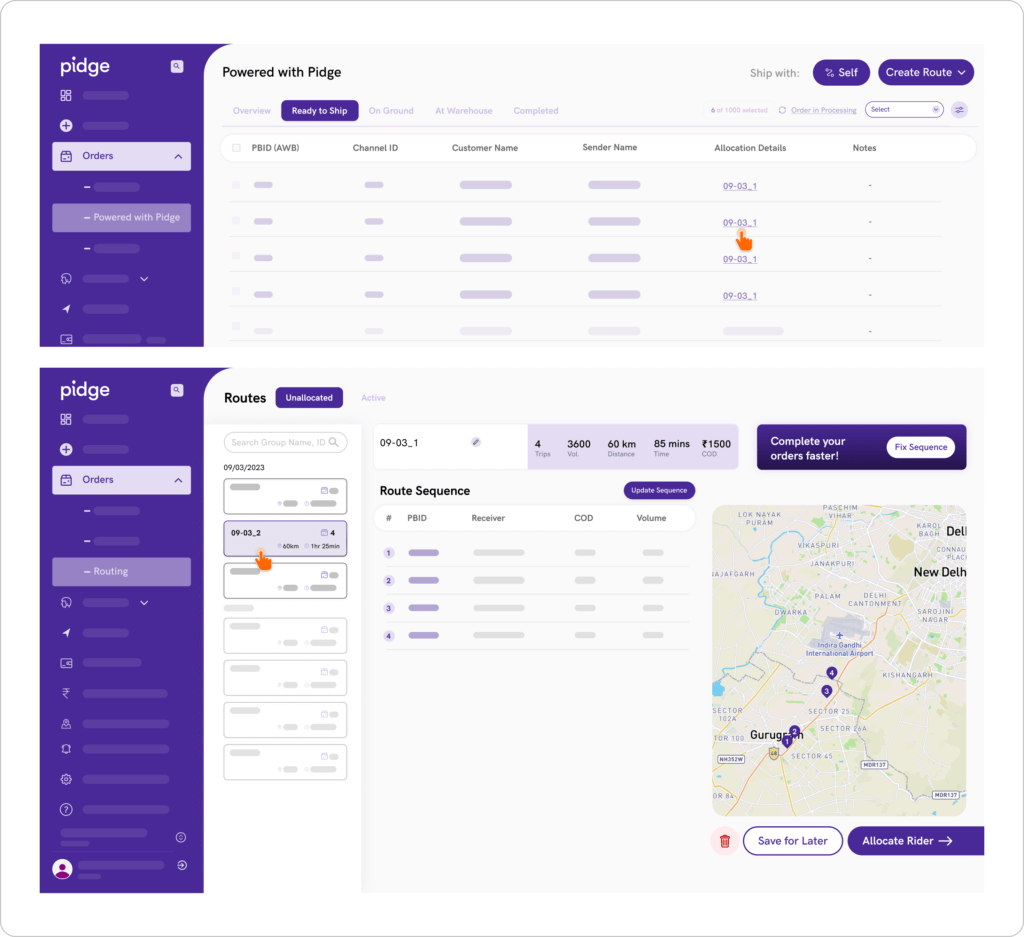
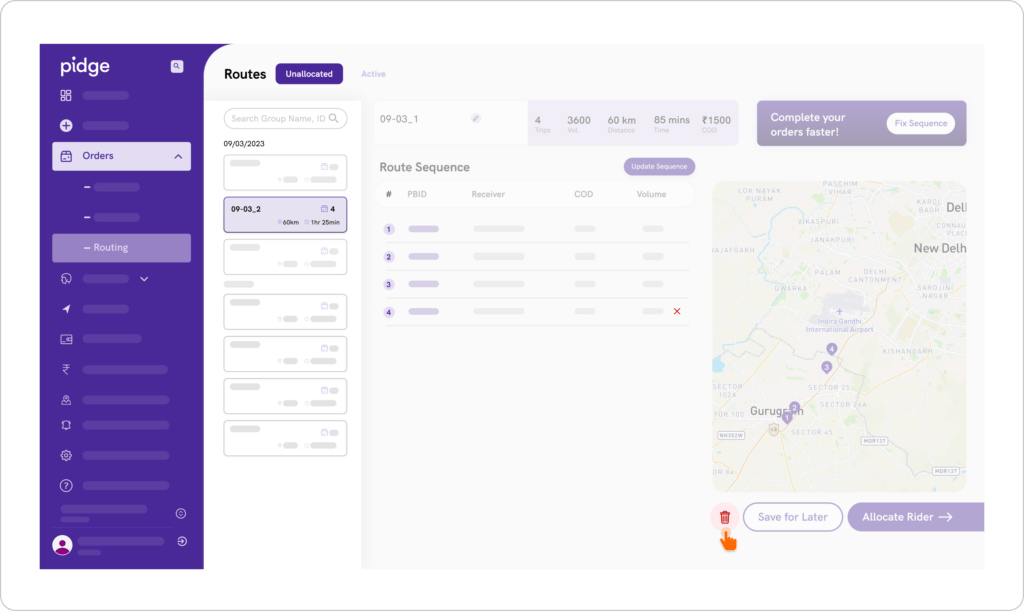
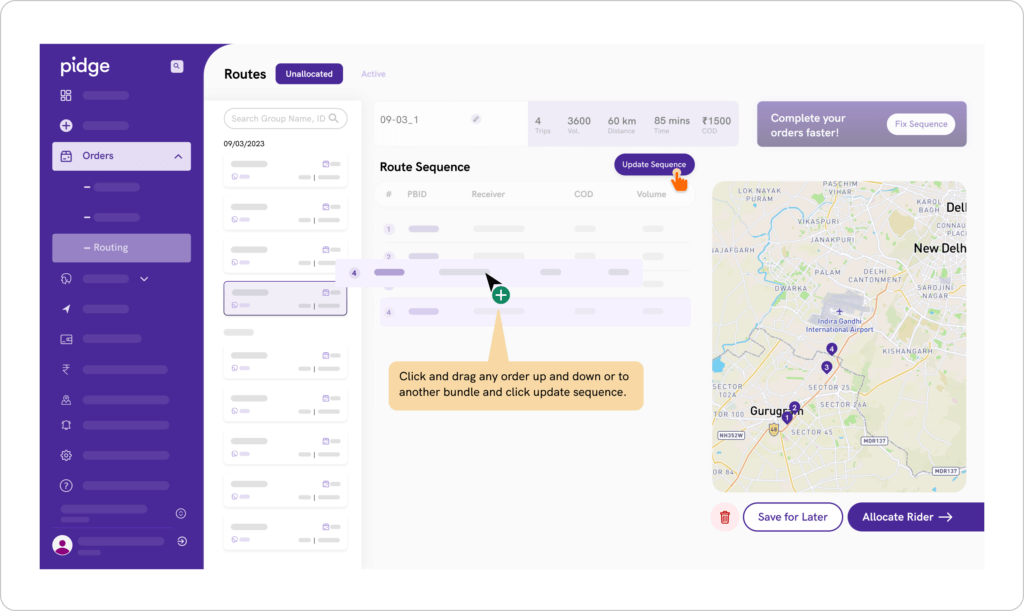
On the ‘Routes‘ page, under the ‘Unallocated‘ tab, select a route from the left panel of the page that you wish to change the sequence for. Each route shows the number of orders, route distance, and time needed to complete the orders. You will also see a list of all orders in that route under the title ‘Route Sequence‘. You can change the suggested sequence within the route by dragging the rows up or down and clicking on ‘Update Sequence‘. You can also move an order to another route by dragging any row (order) to another bundle/route.
- On the ‘Routes‘ page, under the ‘Unallocated‘ tab, select a route from the left side you wish to remove the order from.
- Hover on any row, you will see a red cross icon next to the order details.
- Click on the icon to delete the order from the selected route.

On the ‘Routes‘ page, under the ‘Unallocated‘ tab, select a route from the left side you wish to remove the order from. You will see a Delete icon under the map displayed on the right. Click on the delete icon and confirm to delete the entire route.